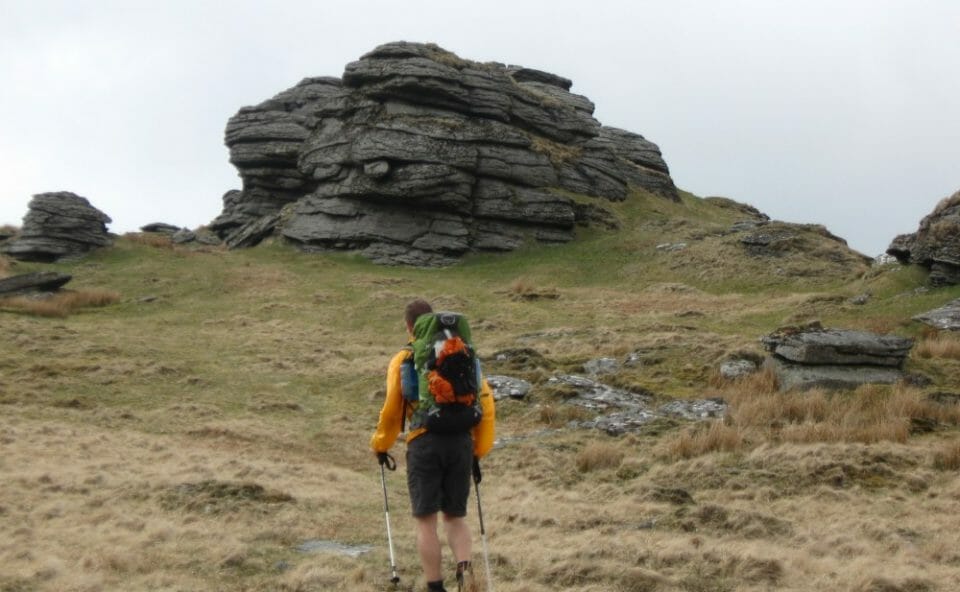
Over the last 10 years or so, it seems that the entire outdoor world has gone “ultralight” crazy – 2lb tents, 1lb sleeping bag, 1oz cooking system etc. How many times have you read a post that started like this: “I remember starting to walk the PTC with 65lbs and after a month I got rid of 2/3 of it….”? Well, I never walked the PCT, or the AT, or any epic trail to learn how to get my kit light; I just got there like normal people: baby steps of learning, experimenting and painstaking gear upgrades.
Yes, this is the real truth – going light, ultralight or super ultralight takes time, patience and one thing above all – good planning skills. So here I will try and get into the basic concepts and mindset to taking your gear from the 50-100lb group to the sub-20lb (sub-10lb is up to you to learn by yourself).
Step one: go outdoors more
It is the hard reality – gear upgrades happen out of experience and necessity. The pack is not really heavy until the weather turns bad, you are carrying way too much and you are miles away from camp. All of a sudden heavy becomes REALLY heavy.
Every time you go outdoors, check if there were any items you haven’t used and stop taking them- very simple (this does not include your emergency kit, of course). That camping chair is great but you never open it because you are just too tired on breaks – leave it at home and see if you miss it. If you do miss it, maybe you can give it a well deserved comeback into your pack.
Step two: Monitor your gear
This is a direct progression from step one – keep on checking your gear and questioning its presence; in the end, you may find that the down jacket you take all winter has only been used on trips that were actually at freezing point or find a good waterproof jacket like the ones in this guide, Best Waterproof Hiking Jackets.
If you find it hard to keep track, make a chart – either in a spreadsheet or in a good old notebook: what you took each trip and whether it was used or not. It doesn’t have to be complicated, just consistent.
Step three: Planning, planning, and planning
Planning is probably the most important aspect of going lightweight. Check everything that might influence your trip and adjust accordingly – no need for heavy boots on a nice walk on sloping hills. If you aren’t planning on camping, just a simple emergency shelter in enough to take with you, there is no need for a tent.
The more prepared you are, the less you carry – from gear to food, water and everything in between. Check the weather, terrain conditions, wildlife, services and escape routes. If you know what is expected you can take just what you need and avoid unnecessary gear.
Step four: Gear upgrades
Once you have optimized your existing gear, it will be only a matter of time until the itch to buy new gear will come and this is your chance to start “fixing” your gear. There are two schools of thoughts here:
- Buy light and cheap and when it breaks/tears – just replace it.
- Buy really good gear that is light, will last and be reliable but will cost an arm and a leg.
You can choose what works for you, but I find that a bit of a mix works best: if it is vital like a tent or a sleeping bag, I invest dearly. If it is simple like cutlery, I might go cheap and replace when needed.
The most important part in upgrading gear is getting the most bang for your buck. First, buy the one item that will shave the most weight for the least money. For most non-“Ultralight” people, that is the tent or the sleeping bag – they can be really heavy and will give the biggest weight drop available in a single item. After those two, your cooking system probably could use an upgrade and a weight shave.
Once you have started to lighten what is in the pack, you should probably replace the actual pack to something less robust, complicated and heavy. Simplicity is key here. After that, the sky is the limit – just try not to buy it all in one go: you will end up not going outdoors enough because you have spent all your money on the gear and miss the whole point.
Another gear tip: get your stuff when it is on discount. Unless you literally missing something (if you have no sleeping bag, sleeping outside is a challenge), upgrade when a good offer comes along. Outdoor gear is not really seasonal, but previous models work perfectly well, are still light enough and can be much cheaper.
Wrap up
Going into the world of ultralight gear is not about carrying less or reaching the smallest backpack known to man, it is about enjoying the outdoors more. If you must take a bottle of red wine for a night under the stars to enjoy it – take it, even if it is not ultralight. The gear you carry is meant to serve you and should always be seen that way, especially if it is ultralight.


