If you have to sleep outside in a tent, make it a memorable experience in a good way by learning how to set it up correctly. Although it always seems like a tough skill to master at first, you can learn how to pitch a tent like a pro by following these tips:
Practice pitching the tent at home
If you are hiking into the woods, make certain that you know how to set up your tent beforehand. Practice at home to familiarize yourself with the parts and know where each of them goes. You can even write notes if there isn’t enough time to commit everything to memory. If you fail to learn how to set it up then, you’ll be forced to set it up for the first time while you are tired after an entire day hiking (even worse doing so as it rains).
How to find the perfect campsite
The best campsite is one that provides the perfect conditions for a good night’s sleep. As you find your location, be mindful of your impact on the ecosystem – try to minimize it as much as you can, to conserve the environment. Finding a perfect location will not always possible, but there are few conditions that an okay site meets. You can follow these basic principles to find yourself a location that will do just fine:
- Use existing campsites if they are available to minimize your environmental impact. It is good practice to have as little of an impact as possible to natural resources when you are out to preserve the fragile ecosystems. Using an established campsite also saves you the time you could spend scouting for a nice location.
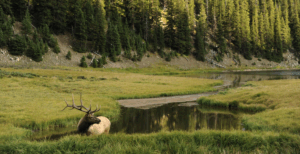
- Find higher and drier ground. Stay at least 200 feet from water bodies because flooding can happen overnight and you wouldn’t want to be awoken by a stream of water.
- Set up under trees but ensure that they are sturdy. If the area is windy, trees are natural windbreakers. In addition to that, they shelter you from rain.
- Avoid pitching your tent in a valley. Low areas surrounded by raised areas collect rainwater and are generally colder. Find a nice location that’s relatively dry and less likely to flood.
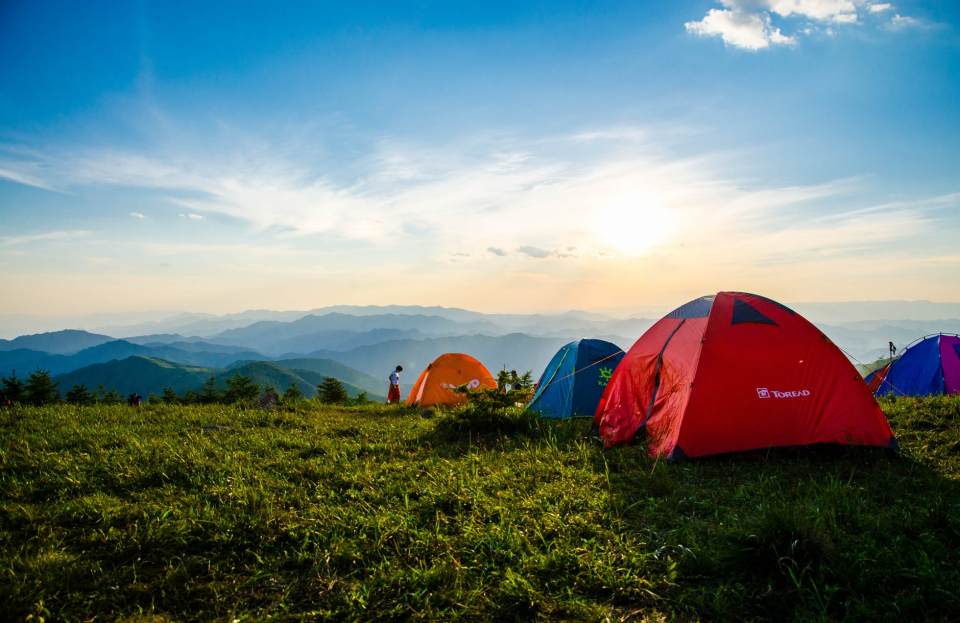
How to pitch your tent hassle-free
Now that you have found the ideal location, the pitching part should be quick and easy if you know your way around the tent’s parts.
It’s important to note that not all tents have similar parts. There are older tents with more complex setups and modern ones that are more lightweight and user-friendly. The level of luxury you want also has an influence on the number and complexity of the tent parts; the best glamping tents come with extra accessories to both protect you from the elements and create a luxurious atmosphere. That’s why you need to practice to acclimatize yourself with everything at home. Follow these tips for a quick set up:
- Ensure that the strongest pole structure is facing the side the wind is coming from. That way, you minimize the chances of wind rocking your tent and interrupting your sleep at night. You should also ensure that the side with the smaller surface area is facing the wind to minimize air resistance.
- Place a footprint and/or a tarp underneath the tent before you start setting up to protect the tent’s base. As you position the footprint or tarp, ensure it covers a smaller area than the tent to prevent it from collecting rainwater at night under the base of the tent.
- Drive each of the stakes into the ground at a 45-degree angle towards the side facing away from the tent. Doing that provides the strongest support and minimizes the chances of the stakes uprooting in turbulent conditions.
- If the ground is tough, use a stake hammer to drive the stakes into the ground or improvise a hammer using rocks. You should always carry extra stakes because some may get damaged as you drive them into hard ground.
- If the conditions are gusty, stake down the corners as the first step once you have laid your footprint to provide support and make the rest of the setup process stress-free. You can readjust the stakes later on.
- Secure the rainfly at the tent poles to make it taut. While doing so, do not fasten the first rainfly Velcro wrap tightly before the fly is in place; instead, ensure that it is in position first to provide even tension throughout.
Bonus tips
There are many other amazing pointers with regards to pitching your tent. Here are some you will find useful:
1. Carry equipment suited to the unique conditions of your trail. If you are headed to an extra windy, rocky, sandy, or snowy area, you should prepare for those conditions accordingly. Carry anchors, flies, guylines, or special stakes that are tailored to those settings for a stress-free experience.
2. Research about your trail before you leave home to learn about already-established campsite locations within the area. Frankly, you could use a heads up regarding possible adverse weather conditions like rain or wind to prepare for them accordingly.
3. Carry extra equipment to cater for damage. This includes things like poles, stakes, and guyline cords. It’s always nice to go in prepared for the worst because when equipment breaks or twists, it can disrupt your setup.
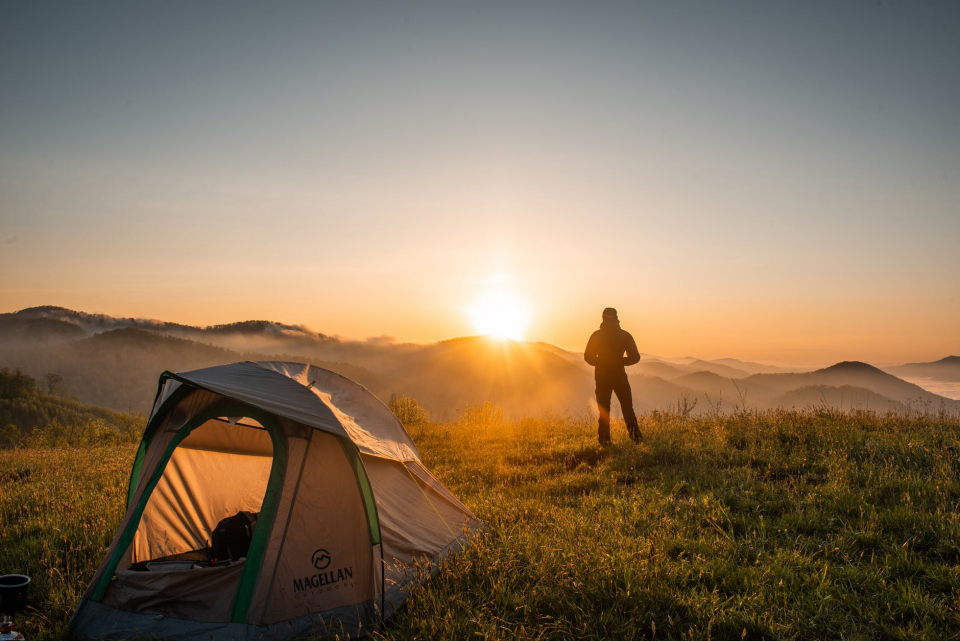
4. Assemble your tent as early in the evening as you can; especially before the dark sets in. It is easier to work in daylight than in the dark.
Learn how to set up your tent properly so that you can spend your time in the outdoors taking in the beauty and having an amazing experience; that’s what brought you out there in the first place.