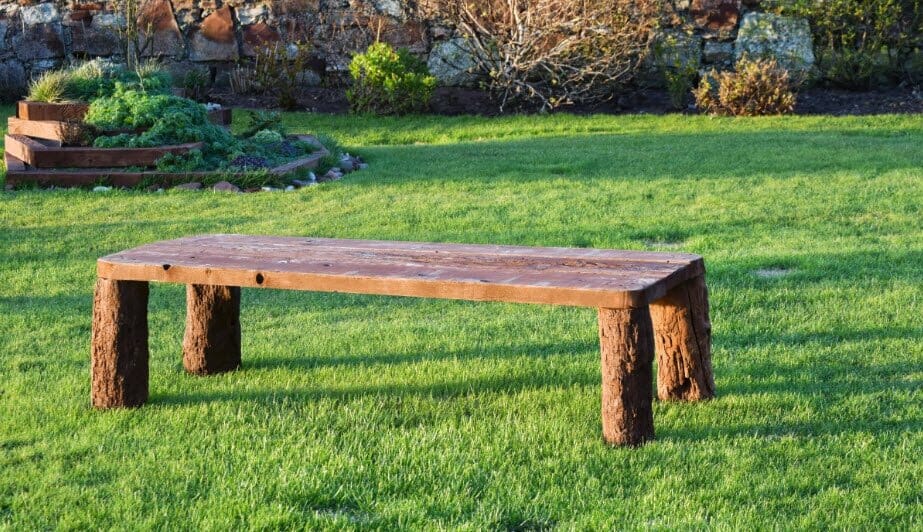
 Making a wooden folding table yourself isn’t a hard thing – it can be done with minimum effort and few tools. Moreover, a folding table is extremely useful because it makes room for other camping gear when being transported. Whether you use it to prepare food, dine, play board games on it, or just as a place to put your things on under a quality canopy, the folding table is something every camp goer should have.
Camping is represented by numerous outdoors activities. These activities happen away from town and cities and in the middle of nature, as a way to relax and breathe in some fresh air. You can either choose to set up a tent or bring a camper van with you. Camping usually includes a multitude of activities, such as trekking/hiking, kayaking, and fishing, and it can either be done by yourself or in the company of your family or a group of friends.
Aside from the most obvious camping equipment that you should always have with you (tent, sleeping bags, sleeping pads, lanterns, etc.), there are a few others that are good to have around – such as a wooden folding table. We will skip the buying part and go straight to making your own; below are the steps to making your own wooden folding table:
1. Purchasing The Necessary Wood
There are several places where you can get the necessary material for this task, two of them being a lumber yard or home improvement supermarkets or outlets. You need a basic kind of material, so don’t over-complicate yourself with extravagant stuff, given the fact that the table is a plain card-like structure.
2. Picking The Right Material – Depending On What Do You Want Your Table To Look Like
Although this step may sound hard, it isn’t – you actually have many options to choose from. It all comes down to whether you prefer having a regular wooden folding table or something a bit more complicated. The plywood should be at least one inch thick – just pay attention to the material so it doesn’t have any imperfections or deformities, and that it isn’t bent in any way, because this will only complicate the entire process. For instance, you can easily pick a craftsman by reading a craftsman 10 review online. The same formula can be applied to any other tool.
3. Cutting, Assembling, And Attaching Its Parts
Using the Best Folding Saw and following your own measurements, cut the smaller boards used for the underside of the tabletop, then attach them to it with screws. Do the same with the rim boards – installing them about 2 inches away from the edge as well as below the tabletop. When installing the boards on the tabletop, anchor every side of the rim board with a screw and a power drill. After finishing, make sure that the rim boards aren’t uneven.
4. Adding The Table Legs
Using a power saw, cut the table legs conforming to the height you prefer, while ensuring that they are equally and precisely cut. After that, fix them to the rim from underneath the tabletop, using bracket kits. Make sure each of them folds. Once you nail this step, your wooden camping folding table is as good as done.
As for the final touch, you can apply wood sealer, leave it like that, or use a tablecloth. All in all, making a wooden folding table is easy, fast, and considerably cheaper than buying one and the only hard part is waiting for the wood sealer to dry.


