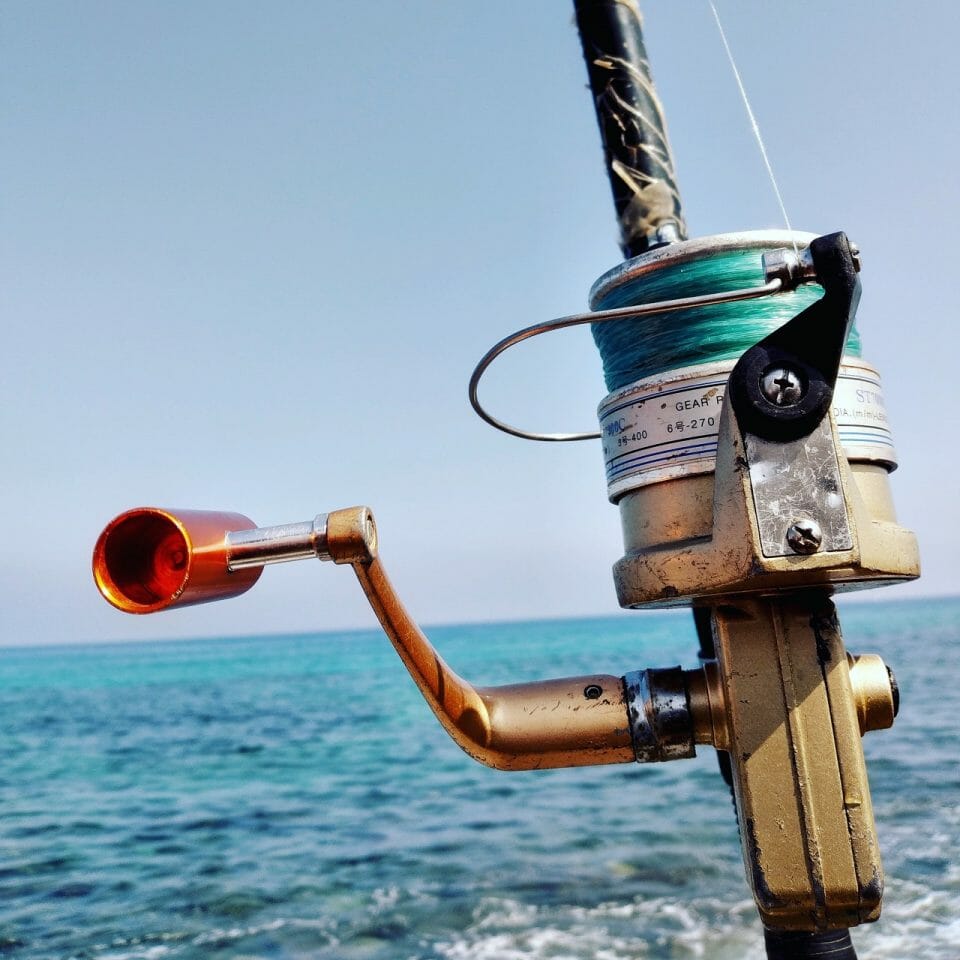

All it takes is one fishing trip to realize how dirty reels can get and, as a result, impact your performance. Soil, sand, bait residue, and salt can destroy the inner workings of your equipment if you don’t take the necessary steps to get rid of them. Wash them off after every trip as part of the regular reel cleaning and oiling process.
Reel maintenance has three parts: the washing of oil and other debris after every trip, the routine upkeep after every other trip, and the deep cleaning session after the end of every season.
The more thorough processes involve oiling to ensure the reel’s consistent, smooth performance. During these parts of regular maintenance, you can use quality oils like WD-40 for a hassle-free experience and a satisfying result. Today, we’ll take a look at how reel cleaning with WD-40 works so that you can try it yourself at home.
Things You Need To Understand Before Cleaning
Before you attempt to oil or clean your fishing reels yourself, you must understand how freshwater and saltwater fishing affects them. They bring different kinds of wear and tear in terms of intensity, with saltwater being more damaging due to the saline content and freshwater much less penetrating.
For this reason, every fishing gear frequently exposed to saltwater has to be cleaned and maintained with extra care. Reel quality factors into the equation, as well. The more complex your reel is, the riskier it could be to take apart since you might not be able to reassemble it properly.
Reel Maintenance With WD-40
In this section, we’ll be going over the items you will need and the step-by-step process for maintaining your reels the WD-40 way.
- Clean, soft cloth (preferably microfiber cloth)
- Three types of WD-40 products (lubricant, multi-use, anti-friction)
- Small brush
- Screwdrivers
- Distilled water
Cleaning Fishing Reels With WD-40
Once you have gathered the items above, start cleaning and oiling your reels by following these steps:
Step 1: Clean the Reel Coil.
Unscrew the center screw of the reel to remove its wire coil. Then, check the outside and the rear areas for any foreign substances. If you happen to find some, use a small brush to remove them.
Then, submerge the coil in distilled water for about a few hours. Afterward, rinse the coil and dry all its parts using a soft cloth or paper towel. The friction unit is something you should never lubricate.
Step 2: Clean and Lubricate the Rotation Mechanism.
Using a soft, clean cloth moistened with water, wipe the reel’s exterior. This is the required minimum cleaning after a fishing trip. It is normally sufficient for frequent freshwater fishing, but regular saltwater fishing is another story.
You want to clean and lubricate the reel’s moving parts, including the central shaft at the base of the reel and in the area where the coil once was. Do this after every fifth use using the WD-40 silicone lubricant to ensure smoother movement of the parts.
Not only should you be able to lubricate these areas using the product, but you should also be able to help protect them against the elements. What’s great about this particular type of WD-40 is that it is compatible with rubber, metal, wood, and plastic.
Step 3: Lubricate the Line Spool and Bail.
The bail joint goes through at least a thousand uses during a single season of fishing, which means it is something you will want to pay attention to. Make sure it’s opening and closing mechanism is smooth and free of any additional space.
To ensure this, clean the joints using the WD-40 multi-use and oil them with the WD-40 lubricant. Dab some of the product to the line spool, which is built with a tiny inner bearing in some of the best models.
Step 4: Lubricate the Handle.
Take apart the handle by removing all of its locking systems on the opposite side of the reel. Then, use the products in Step 3 to oil the shaft, rotation seat, reel head, and handle. The rotation seat usually has a small bearing, which you want to pay particular attention to when lubricating. Also, make sure to lubricate the joint that lets the handle fold against the reel body.
Step 5: Lubricate the Inner Workings.
Once you disassemble a reel, you can see openings that need to be oiled to improve the reel’s performance. Apply the WD-40 anti-friction lubricant into these openings to reduce friction as well as the wear and tear of the reel’s mechanisms.
Step 6: Clean the Exterior.
Now that you’re done addressing the reel’s moving parts, it is time to move to other areas. Make sure to get rid of all the excess lubricant that has made its way to these parts and tighten all the screws with the right screwdrivers. The final touch should be a layer of WD-40 lubricant that you “stretch” and dry with a paper towel.
The WD-40 Difference
What’s great about using WD-40 is that it goes above and beyond most oils for cleaning and lubricating reels. Plus, there are many types available for specific maintenance steps to ensure the process is done the best way.


