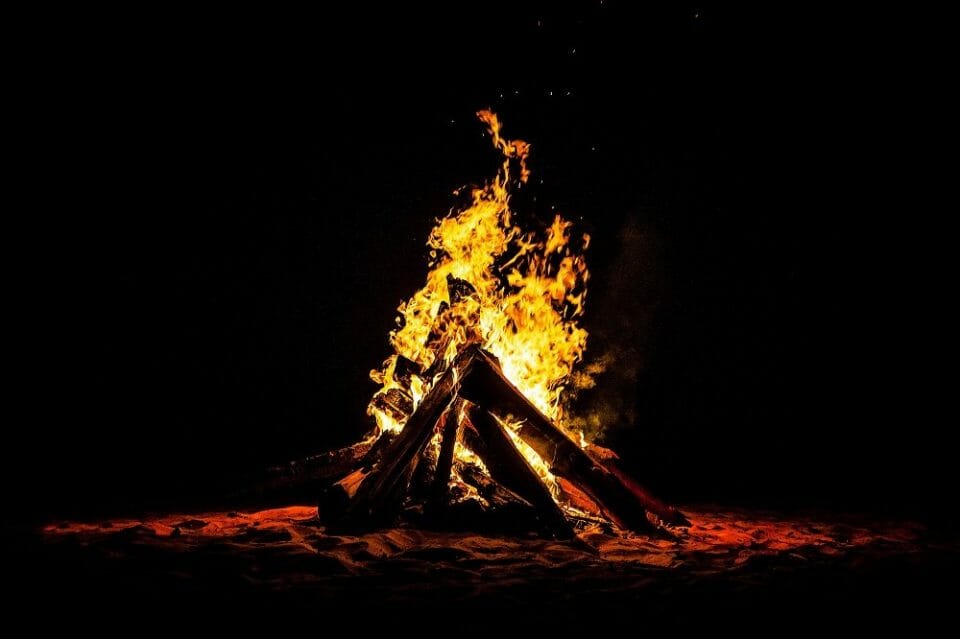

Knowing how to build a campfire is an essential survival skill. The perfect campfire is one that you can build and keep going all night, no matter the conditions.
Step 1: Be Prepared with a Fire-Making Kit
While building a fire doesn’t take a lot of gear, there are a few things you need so you can start a fire anywhere.
- Fixed Blade Knife: You always need a good knife. If you want to go bigger, add an ax or saw to your kit to make splitting wood more manageable.
- Fire Steel: A fire steel is the best way to create a spark in any condition, wet or dry, windy or calm. Sure, you can use lighters and torches to start a fire, but they rely on a limited fuel supply. Fire steel is reliable where they aren’t.
- Coated Cotton Balls: Cotton balls make great fire starters when they’re dry. Coat a bunch of cotton with petroleum jelly to safeguard their insides from moisture. This will ensure that your little firestarters will do their job. Keep these in a sealable plastic bag and you’ll have all the starters you need.
- Firewood Kit: You’re going to need tinder, kindling and fuel wood. Naturally, dry wood burns best. If conditions are wet, and you need to find some dry wood, look inside dead trees, limbs or stumps. Tinder is vital for getting started. Tinder needs to be dry. Look for dry bark, grass, animal nests, leaves or fungi. You can also bring your own kit. Pencil-width twigs and branches make the best kindling. If dry kindling isn’t available, you can whittle away the damp outer layers with your knife. You’ll need plenty of fuel wood to keep your fire going throughout the evening. You don’t need to burn huge logs. Fuelwood can be the width of your forearm or wrist. For fuelwood, use local wood from the campground host, nearby woods or a local store to avoid bringing unwanted pests into your campsite.
Step 2: Establish a Site
Making sure to follow all park safety guidelines, clear the area of flammable debris, use a pre-existing fire ring or build your own. The base should be mineral soil or sand. You can also make a platform mound using sandy dirt, 6 inches tall as a base for your fire. When possible, build the mound on top of a flat rock.
Step 3: Set Up Your “Teepee”
Once your site is ready, place your tinder bundle in the middle and form a teepee around the tinder with kindling. Leave an opening on the side that the wind is currently blowing against so your fire will get plenty of air.
Step 4: Let it Burn
Once you’ve arranged the initial teepee, make a larger one around the kindling using your fuel wood. Light your tinder from below using the fire steel and coated cotton balls. Once the teepee collapses, add fuel logs to the fire.
Step 5: Put It Out
Knowing how to build a real fire isn’t complete without understanding how to put it out. First, pour water over the fire site. Stir the ashes, then pour more water over them. Dismantle any structures that you built, and make sure to dispose of any charcoal or other flammable materials properly. Most importantly, never leave your fire unattended until it’s fully extinguished.
Now that you’re ready to build the perfect fire, ensure that you have everything else you need for a great camping trip. While some camping items like tents, camping cots, cookware and storage are evergreen, you might need to update your outdoor wardrobe seasonally. Visit a trusted outfitter like Carhartt to update your camping accessories and wardrobe with the essentials you need like a camping backpack, some sweatshirts, extra socks and some food containers.

